

**What you'll need**
Paint Shop Pro (any version should work)
PTU Kit "Fall-Ever Friends" by Stina
Poser Tube (C) Medi
Font: Spring LP Std

**This tutorial assumes that you have working knowledge of Paint Shop Pro.**
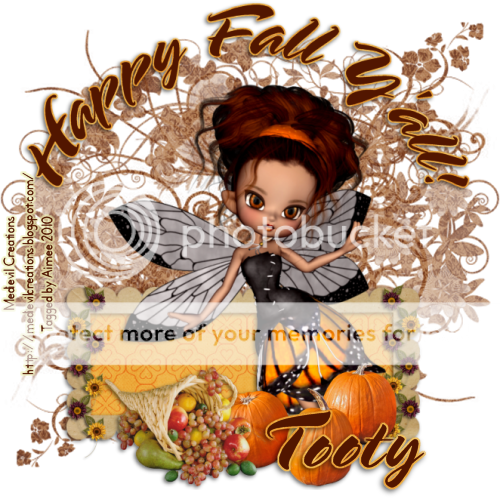
**This tutorial was written by Aimee Pryor on September 1, 2010.
Any similarity between this tutorial and another is nothing but coincidence.
You may link back to my tutorials, but do not copy them and put them on your own group
or site of any kind. If you'd like to share your creation, you may email them to me at
tnt-aimee@live.com and I will share them here :o) Thanks!**
Start by opening a new 600 x 600 image.
Also open the cluster frame and mask. Minimize the mask
for later use.
Alrighty. Let's start by resizing the cluster frame by 90%.
Copy and paste as a new layer. Using your freehand selection tool,
draw a rectangle (on the top frame) just a little bigger than the inner
part of the frame. Choose a paper from the kit, Copy and paste as new
layer. Selections - Invert - Delete. KEEP SELECTED.
Move the paper layer under the frame layer.
Now we're going to choose an image to put inside the frame.
I chose to use DBS_Fence_w_Fae02 - Rotated 15% to the right - and
resized 35%. Copy and paste as new layer. Hit delete. Select none.
Make the frame layer active and paste the image again. Align both
together. Now, Using your eraser, erase everything but the fae,
so it looks like she's flying out of the frame. Give the bottom copy
a drop shadow of 2, -2, 60, 8 - Black.
Repeat those same steps for the bottom frame. except change the images
you use. If duplicating my tag... I used DBS_Swing (rotated 15% right) - Resized at 50% and DBS_Staffie01 - Resized at 30%.
Add drop shadow to both of those layers.
Now just to make sure we've got plenty of room to work...we're going to change the canvas size to 900 x 800.
Choose a tube from the kit - Mirror - Copy and Paste as new layer.
I chose to mirror her, to put her on the right side of my tag.
You can, however, do what you'd like....
since you're making your own :o) Apply same drop shadow as
before. (*Note...I added the DBS_LaceParasol to the tube,
to look as though she's holding it*)
Now let's choose a sign from the kit. I chose DBS_Sign02 - Resized 30%
Copy and paste as new layer. Arrange to the left, between the frames,
where the empty space is. Duplicate the sign layer.
Move one copy all the way to the bottom of the tag
(Add a drop shadow to this layer)
Back on the top copy of the sign - Erase the bottom parts
that stick out onto the bottom frame.
Almost done!!! Open DBS_Deco01 - Copy and paste as new layer.
Duplicate - Mirror - Merge down. Duplicate - Mirror - Flip -
Merge down. Apply drop shadow we used before.
Move the deco layer to the bottom. Resize 80% and
arrange so that the tag image is in the center of the deco layer.
(I had to move mine to the right slightly).
Add a new layer and move it all the way to the bottom - Select all.
Choose a paper from the kit - Copy and Paste INTO selection.
Now go to Layers - New Mask Layer - From Image - Choose my mask
from the scroll box. Apply and merge group. Resize by 80%.
For a finalized little something...I chose to add DBS_Pumpkins.
I resized them by 30% and added the same drop
shadow as before. Merge visible - Crop - Resize
to your liking. Add whatever wording you'd like.
Also add your name and all copyright information.
Save as .png for a transparent background and .jpg for a
white background. Thanks for giving my tut a try!!!
Hope I didn't confuse you!!

*Here are a couple more tags I made using this kit. There are so many items
within the kit, that it's hard to stop at just one!! I also made the cluster
frame from the kit*

No comments:
Post a Comment
Hey there! Why don't you leave a little something before you go :o)