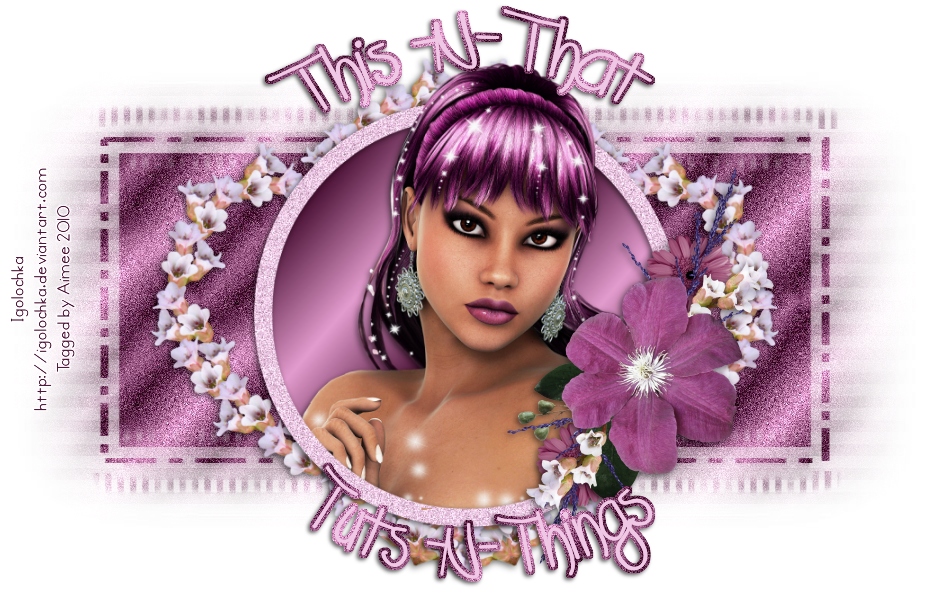
*What you will need*
PaintShopPro (any version should work)
PTU Kit "Orange Blossom" by Stina
Font I used : Baby Kruffy
Tubes © Medievil Creations
**This tutorial assumes that you have working knowledge of Paint Shop Pro.**
**This tutorial was written by Aimee Pryor on August 17, 2010. Any similarity between
this tutorial and another is nothing but coincidence. You may link back to my tutorials, but do
not copy them and put them on your own group or site of any kind. If you'd like to share your creation, you may email them to me at tnt-aimee@live.com and I will share them here :o) Thanks!**
Ready to start? I am!
Make sure you've downloaded and opened the cluster frame.
Make sure you've downloaded and opened the cluster frame.
Open a new 600 X 600 image.
Since the frame is so large, we're going to resize it.
Resize it to 500 X 500 pixels, Then copy and paste as new layer
onto your new image.
Alrighty..here we go!
Using your selection tool, no feather, and set to rectangle, Draw
out a rectangle just a shade bigger than the inside of the frame.
See below for a sample:
Ok. Choose a paper from the kit, I chose DBS_Paper17,
Resize 80% - Copy and paste as new layer.
Selections - Invert - Delete.
KEEP SELECTED!!
Move the paper layer just below the frame layer.
Now choose which tube you'd like to use, no need to resize
it either, she fits just fine :o)
Copy and paste the tube, arrange to your liking. Delete.
Select none. Now make the frame layer active - RePaste
your tube and align with bottom tube layer.
Use your eraser to erase the bottom parts of the tube that
go beyond the frame (you'll also need to erase parts by the flowers).
Add a drop shadow to the bottom tube layer
2, -2, 50, 6 - Black. Do the same for the frame and repeat,
but change to -2, 2, 50, 6 - Black.
Ok. Now let's open DBS_FloralScatter03 - Resize 50%
Copy and paste as new layer. Move to the bottom left of the frame.
Duplicate - Mirror - Merge Down. Duplicate the layer - Flip.
Merge down again. Add the first drop shadow we used earlier.
Move this layer to the bottom, under the paper layer.
Now let's open one of the swirls. I chose DBS_Swirl03. Resize 50%
Make your frame layer active, so you can
see what you're doing. Copy and paste as new layer.
Arrange to the right bottom side of tag. Duplicate layer and flip.
Merge down. Move to bottom layer of tag, Under the floral scatter layer.
Duplicate the layer - Mirror and merge down. Apply drop shadow
used before.
Making your frame layer active again - Let's choose a bow
from the kit, resize it 50% - Mirror - Copy and paste as new layer.
I put mine on the top left side of my tag, but of course, that's your
choice. Add drop shadow. Open a butterfly from the kit, resize 25%
copy and paste as new layer. Place wherever you'd like and as
many as you'd like. Add drop shadow.
Now X out the bottom raster layer. Merge visible. Resize
image layer ONLY 500 X 500 pixels. Un X the bottom layer and
make active. Select all - Choose a paper from the kit, copy and paste
INTO selection. Select none. Layer - new Mask layer -
Scroll to Vix Mask 389. Apply. Right click in layer pallette and merge
group. Resize 95%. Now we're going to add a little distortion to
our mask layer.... to give it extra "Oomph". :o)
Effects - Distortion Effects - Spiky halo with the settings below:
Repeat, but change 100 to -100 for both the horizontal
and vertical. That's it!! Resize the image to your liking, add your
name and all copyright info.
Save as .png for a transparent background and .jpg for a white
background.


No comments:
Post a Comment
Hey there! Why don't you leave a little something before you go :o)