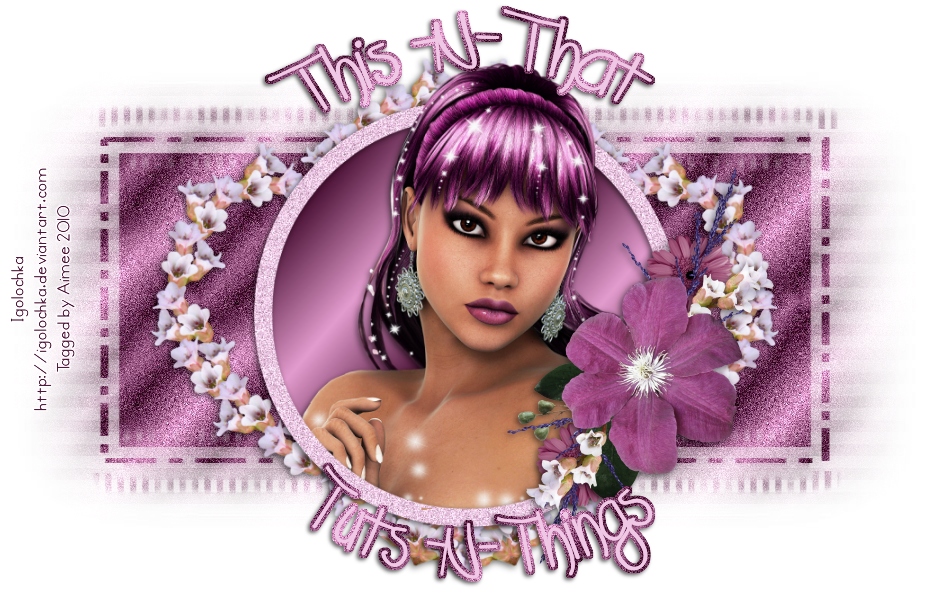
**What you will need**
Paint Shop Pro (Any version should work)
PTU Kit "FantasyLand" by TootyPup
Font : Selfish
Doll tube (C) Albina Design
Ready to get started?
First...Install your filter before opening your PSP.
Now let's open a new 600 x 600 pixel image.
Let's also open the cluster frame and wordart. Minimize
the wordart for later use.
Resize the cluster frame by 85% - Copy and paste as new layer
onto open image. Using your freehand selection tool - Draw out
a square just a tad bigger than the inside of the top frame.
Choose a paper - resize 50% - Copy and paste as new layer -
Arrange to your liking - Selections - Invert - Delete. KEEP SELECTED!!
Move this paper layer below the frame layer.
Move this paper layer below the frame layer.
Now I chose to use the little well image to place inside this
frame, merely a choice. If using the well - Resize 35% - Copy and
paste as new layer. Arrange to your liking - Delete. Select none.
Apply a drop shadow of 2, -2, 60, 4 - Black.
Repeat those steps for the bottom frame, using a different picture
than before. If using the pathway with the cat, like I did... Resize
30%. X out the bottom layer and merge the paper, image, and frame
layers together.
Now we're going to add our Doll :o)
Resize her by about 45%. Copy and paste as new layer and
arrange to your liking. Look at my tag for placement ideas if needed.
Apply same drop shadow as before.
Now let's open the tp-magical bling7 - Resize 45%. Using your eraser
tool, erase the large heart and other areas on the right side. (leave the
small heart, flowers, and glow on the left)
Copy and paste as new layer - Arrange to the opening on the top
right of the frame. (the empty space) Move below the merged frame
image. Duplicate - Mirror - Flip. Merge down.
Apply drop shadow.
Now let's open the tp-magical bling1
Resize 45% - Copy and paste as new layer. Arrange to the same space
we put the last deco. Duplicate - Mirror - Flip. Merge down.
X out the bottom layer again (unless you've still got it x'd out)
And merge visible. Resize this layer to 500 X 500 pixels.
(All layers unchecked)
Duplicate your merged image.
On the bottom layer - Adjust - Blur - Gaussian 10.
On the top layer - Resize 95%.
Make the bottom image layer active again
Effects - Plugins- DSB Flux - BLAST
with the settings below:
Repeat changing the direction to right, then upwards, and then downwards.
Resize my wordart by 70% - Copy and paste as new layer.
Place wherever you'd like. Apply a drop shadow
of 2, -2, 40, 3 - Black. Merge visible and resize to your liking.
Add your name and all copyright info.
Save as .png for a transparent background or .jpg for a white background.
I hope you enjoyed this tut and that I didn't lose you in the process!!
Thanks!!
*Here's another tag I made using the same kit.
(The cluster frame was also made from this kit) See the possibilites?!*


No comments:
Post a Comment
Hey there! Why don't you leave a little something before you go :o)