**What you will need**
PaintShopPro (any version should work)
PTU Kit "Springtime Reflections" by TootyPup
Font I used : Bickham Script Fancy2
Tubes © Outlaw By Design
Lawn tube from Corel (it's a default tube that comes with PSP...
however, if you no longer have it.. you can get it here.)
**This tutorial assumes that you have working knowledge of Paint Shop Pro.**
**This tutorial was written by Aimee Pryor on June 27, 2010. Any similarity between
this tutorial and another is nothing but coincidence. You may link back to my tutorials, but do
not copy them and put them on your own group or site of any kind. If you'd like to share your creation, you may email them to me at tnt-aimee@live.com and I will share them here :o) Thanks!**
Ready to start? Let's do this then!!
First let's open a new 600 X 600 Pixel image in PSP.
Open the folder to the kit, and leave that open... so much easier
to grab and go, than to constantly open the folder.
Alrighty.. grab tp-pargola4 - Resize 60% - Copy and paste as new
layer onto your image. Now let's open tp-pot stand - Resize 40% - Copy
and paste as new layer. Arrange to your liking, I placed mine on the left
side of the tag. Now let's grab tp-flower fountain2 - resize 20% - Copy
and paste as new layer, but move this layer below the rest of them. Arrange
to your liking - I placed mine just behind the bench seat. Add a drop
shadow of 2, -2, 60 , 10 -Black to each of those layers.
Resize ALL LAYERS - 500 x 500 Pixels... and then resize the canvas back
to 600 x 600.
Phew! Now for some fun! ;o) Make the bottom layer active and grab
your tube tool. Using Corel's default lawn tube, size 75% and step at 220,
click quite a few times to make a lawn that you'll like. I had to keep removing
bits and pieces until I got mine just right. When you're finally done with
that.. we're going to re color it a bit. Adjust - Hue & Saturation - Hue/Saturation
/Lightness - And use the settings below:

Now I'm going to confuse you a little bit... ha ha.
Duplicate your lawn layer - Mirror - then flip.
Now let's re color this with the settings below:

Yep! You guessed it! This is how we're making our "sky". Select none.
It's a little rough looking, so we're going to 'round' out the edges just
a bit. Grab your smudge tool with these settings :
And smudge just around the edges to kind of round out the sky.
Look at my tag if you need to. Once happy with the smudging,
Select ALL - Float - Defloat
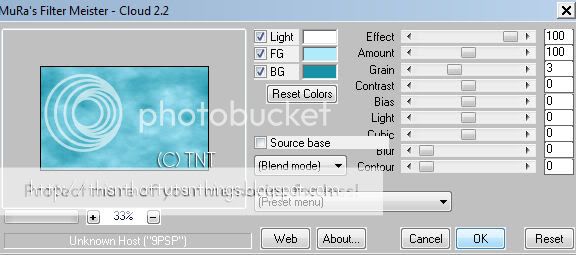
Apply Mura's cloud with the settings below:
Great sky!! If you'd like to, you can also use your soften
brush (optional) with these settings:
To kind of smooth out parts of the sky. Use it until you're completely
satisfied!! Now X out the bottom (should be empty) layer
and merge visible. I resized mine, so that the 'maskish' part would fit.
If you choose to do the same, resize the merged image to 475 pixels
(make sure resize all layers is NOT checked)
Duplicate the merged image and on the bottom copy -
Adjust - Blur - Gaussian - 10. Resize 110%
Now let's go to Effects - Texture Effects - Mosaic Antique
and use the settings below:

All done! Merge visible (again) Crop layer opaque
Resize to your liking. Add any wordart or extras you'd like.
Then add your name and all copyright info.
Save as .png for a transparent background and .jpg for a white
background.
I hope you enjoyed this tut and it wasn't too confusing to you!!
Thanks :o)

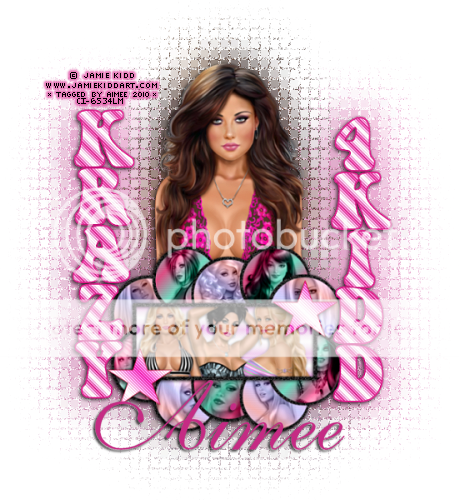
Using the same kit....I also created the tag below...
Oh the possibilities!!!